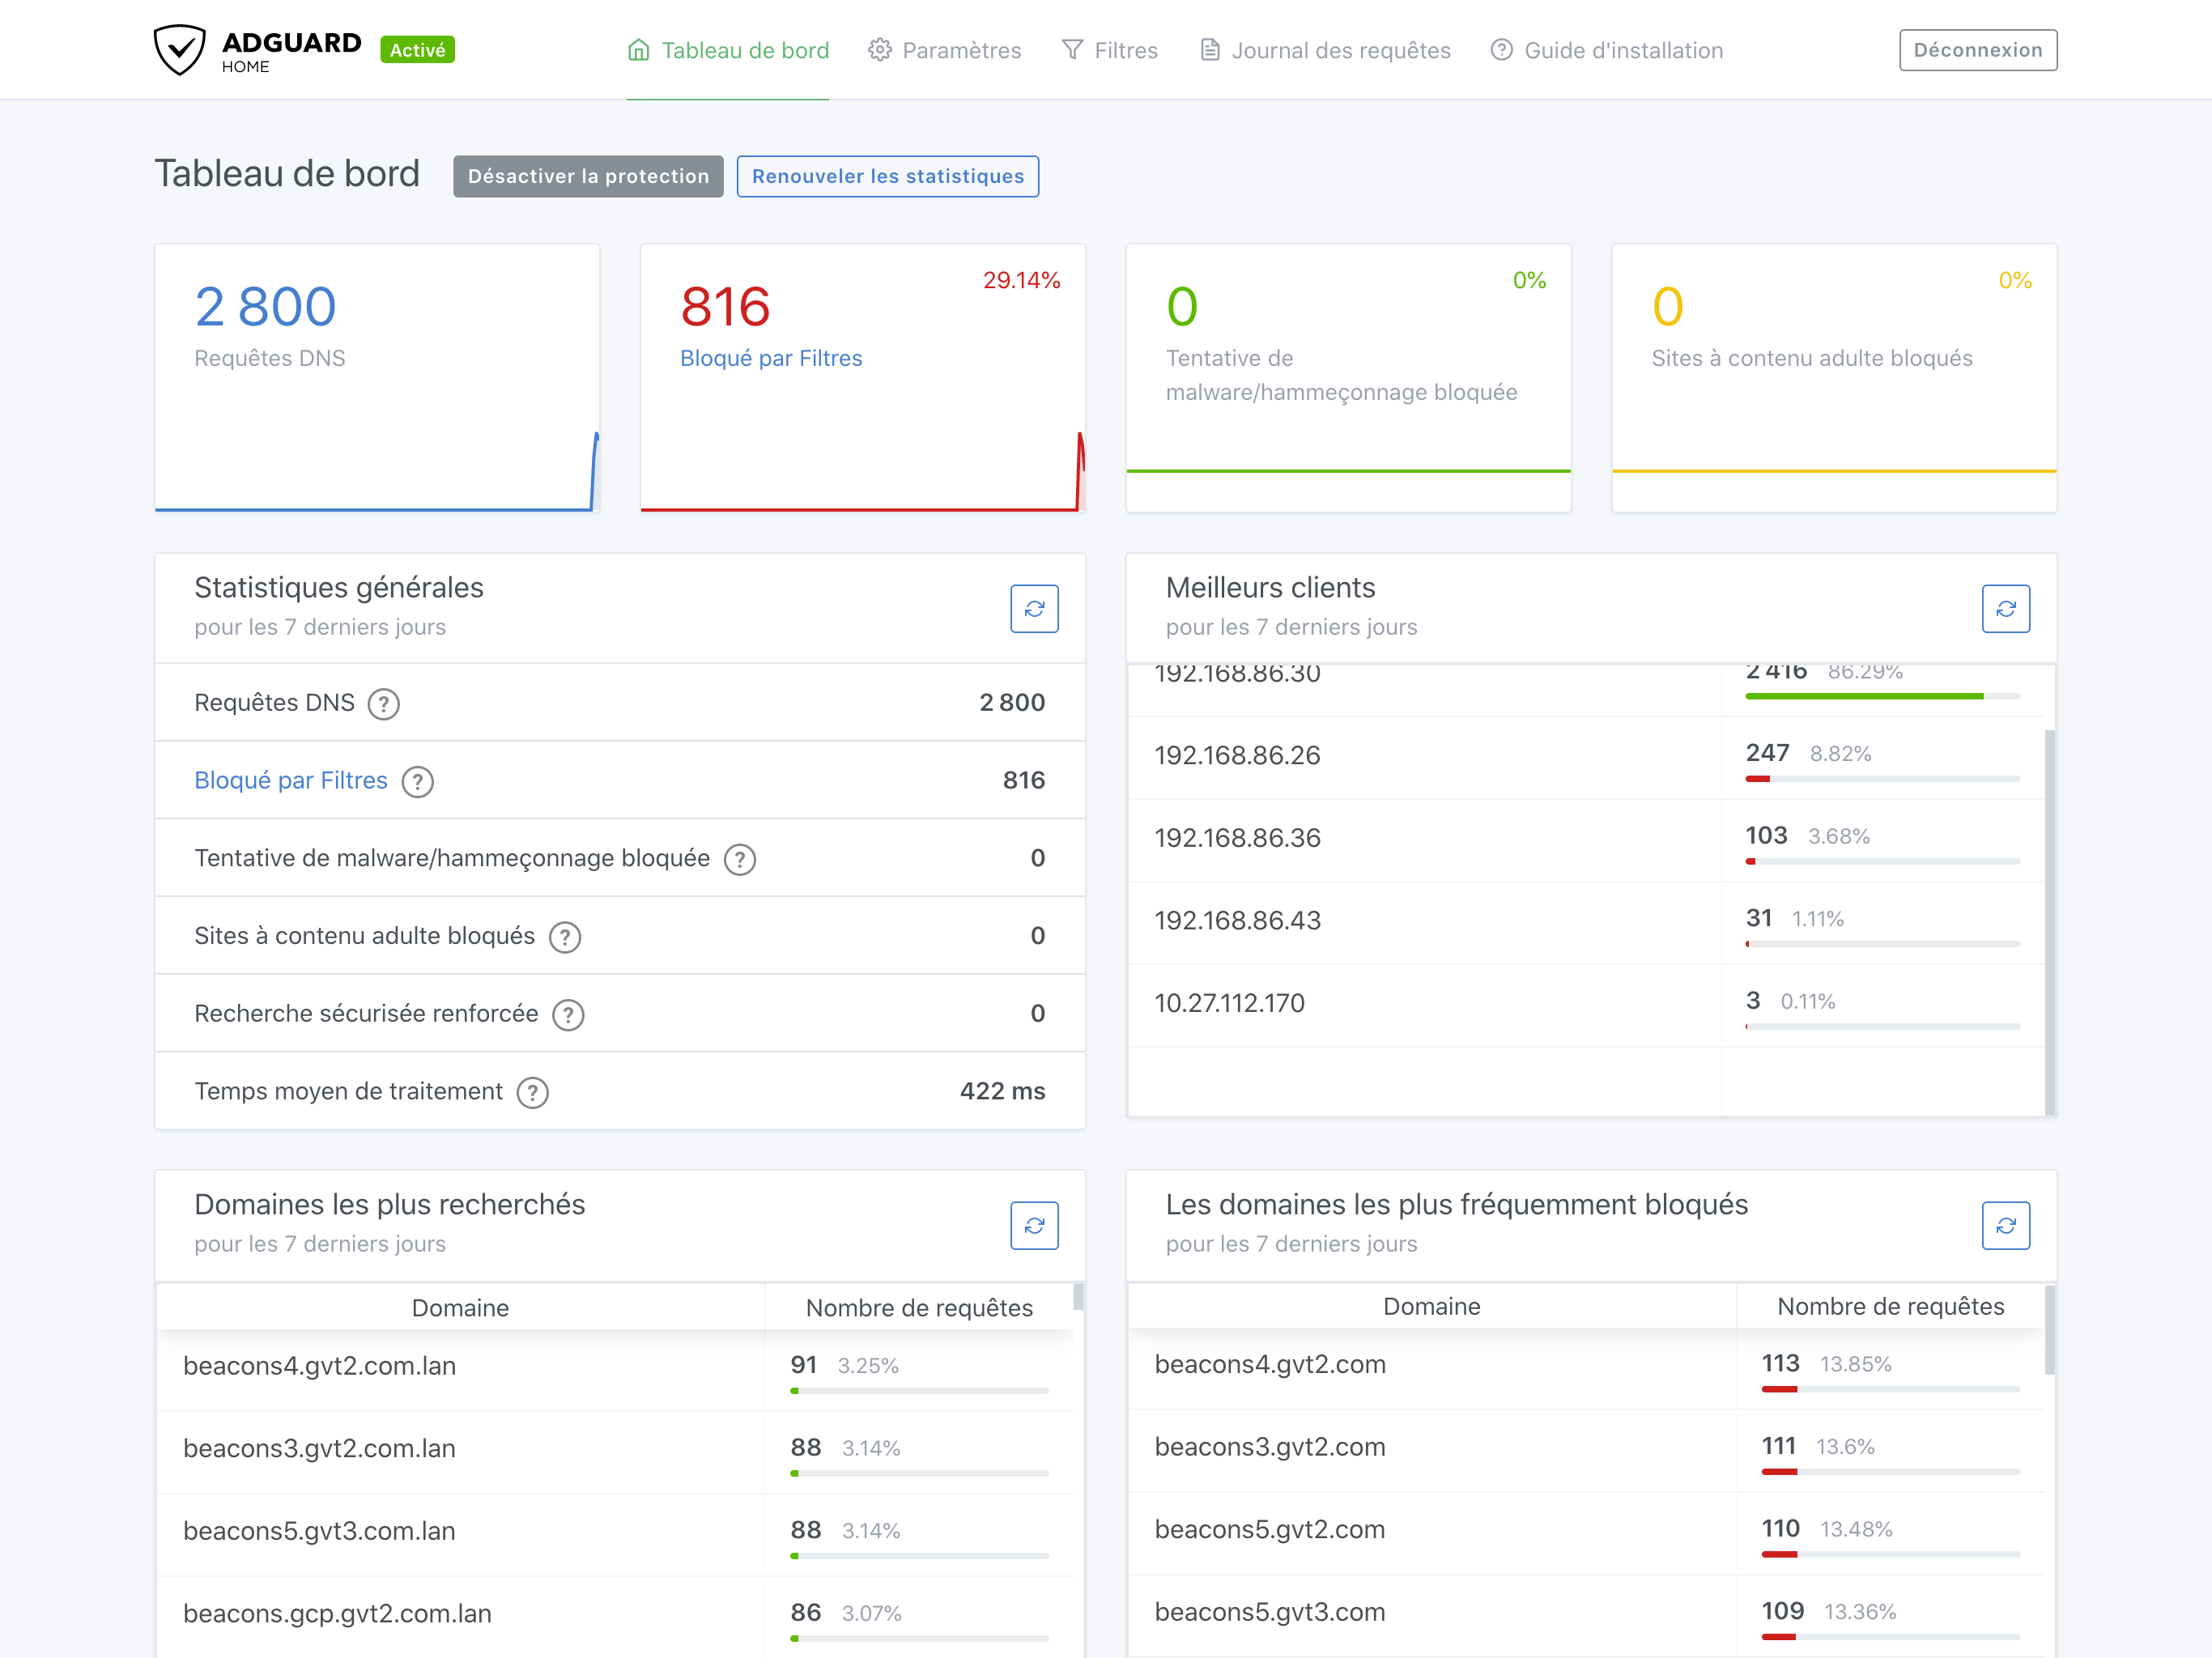
Nobody likes ads. But they are EVERY-FUCKING-WHERE nowadays, sadly. I was using the adGuard browser extension for chrome (but it's available for all browsers) for a long time and tried pi-hole project to clean my entire network at home.
The idea is simple. On a raspberry pi (on any other computer but a raspberry pi zero is 20€ and powered by USB and so tiny I can hide it somewhere and power it with my tv USB port or my router ...), you install a piece of software which is doing a proxy for DNS resolution. It looks on each request, compare it to a list of known ad platform or malware domain names. If it matches, it replies with an empty response; otherwise, it forwards it to the DNS of your choice (Google Public DNS for me, because Cloudflare had much more ethics issues than Google regarding DNS poisoning and what they are doing with your data).
Sadly, pi-hole seems to have some issues when it refreshes the list periodically, ending with a corrupted database and failing to answer DNS requests from your devices on your network. So I had to reinstall it from scratch and reconfigure everything on my raspberry every month or so. At some point, I stop doing it.
But a couple of weeks ago, I noticed on Twitter a discussion about someone ditching pi-hole for adGuard Home, which is basically the same idea but a product made by adGuard themself. You can also install it directly on your mac or pc if you want, but since they are not always on, in my case, I went for the install on the raspberry pi. Which was super easy:
- Install the raspberry as you would do for any regular project. Flash your card with the
raspian headless(light), enable SSH access (just put asshfile on the root of sd card) and configure yourwpa_supplicant.confat the root too. - Follow the installation steps, which are mainly copy-pasting two snippets of code. One is to download and unzip the program, the second to install and register it as a service (so it will run when you reboot your raspberry pi).
- Open the browser to
your-raspberry-pi-IP:3000and follow the little wizard. That's it!
Then you make your router always give the same IP to your raspberry pi and use it as a DNS resolver on your devices. On a computer, it's easy. On iOS, it's kind of too. But on Android 9 and above, it isn't very easy. Android 9 and above let you specify dedicated DNS on each network you are using, but you need a primary server and secondary server on both IPV4 and IPV6, which you don't have with this method 🙁.
But it also introduced VPN APIs, which can be used by apps to create a local VPN on your phone and do whatever they want with the entire traffic, like just handling the DNS request to some resolver you decide 😃 . After a quick search on the internet, I found some apps doing this but also spying on you or asking for a subscription to work ... like ... why? They don't even provide DNS resolving services, so ... WTF ?!
Then I found DNS Changer - Lilly, made by AYKUT ÇEVIK, on the only purpose of being able to use services like AdGuard with a free of ads experience. And I cannot thanks him much for his work on this app. It even features a quick setting tile to turn on and off the DNS redirection, which is very useful for me since my DNS resolver is just accessible from home.

Comments